When I found a touchscreen the same size as the Raspberry Pi I thought it was a great find. Having the screen the same size as the board was perfect for touch keypads and other man/machine interfaces. I knew it would be a challenge to get it fully functional but it was nearly impossible. Lucky for you the hard work is done and I have documented my steps here.
Update: I published some hints in this post. Check that out too.
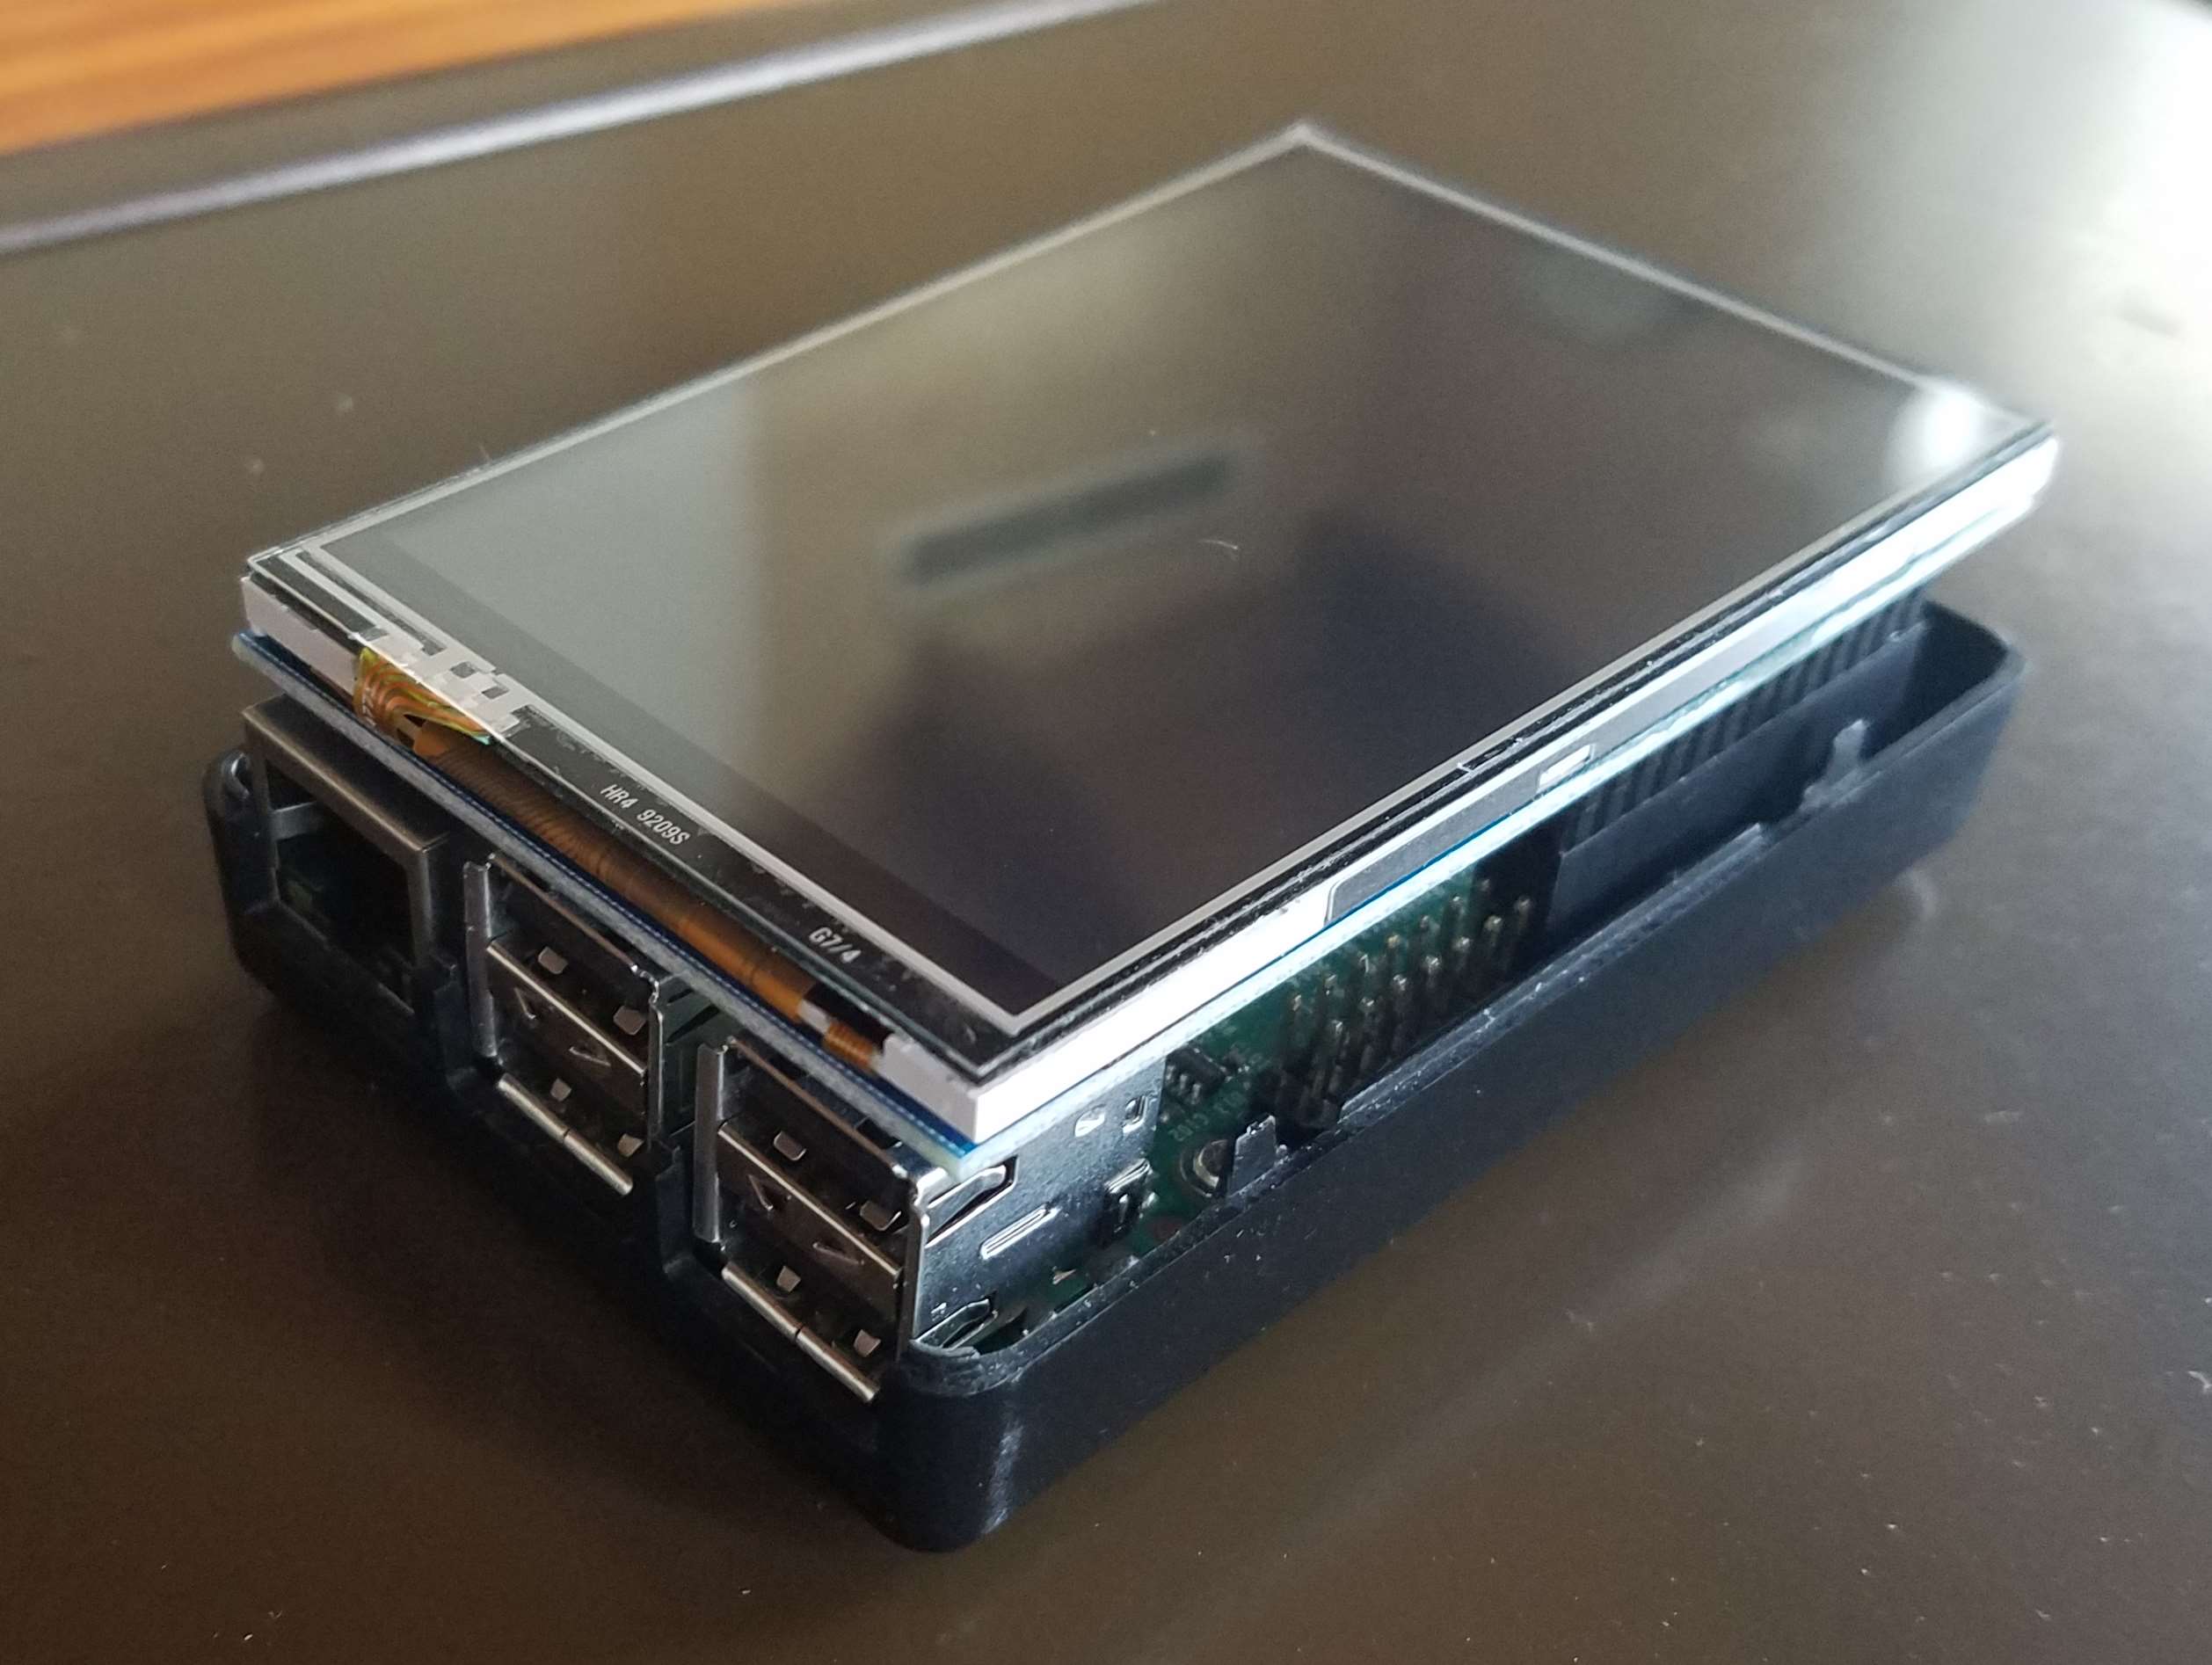
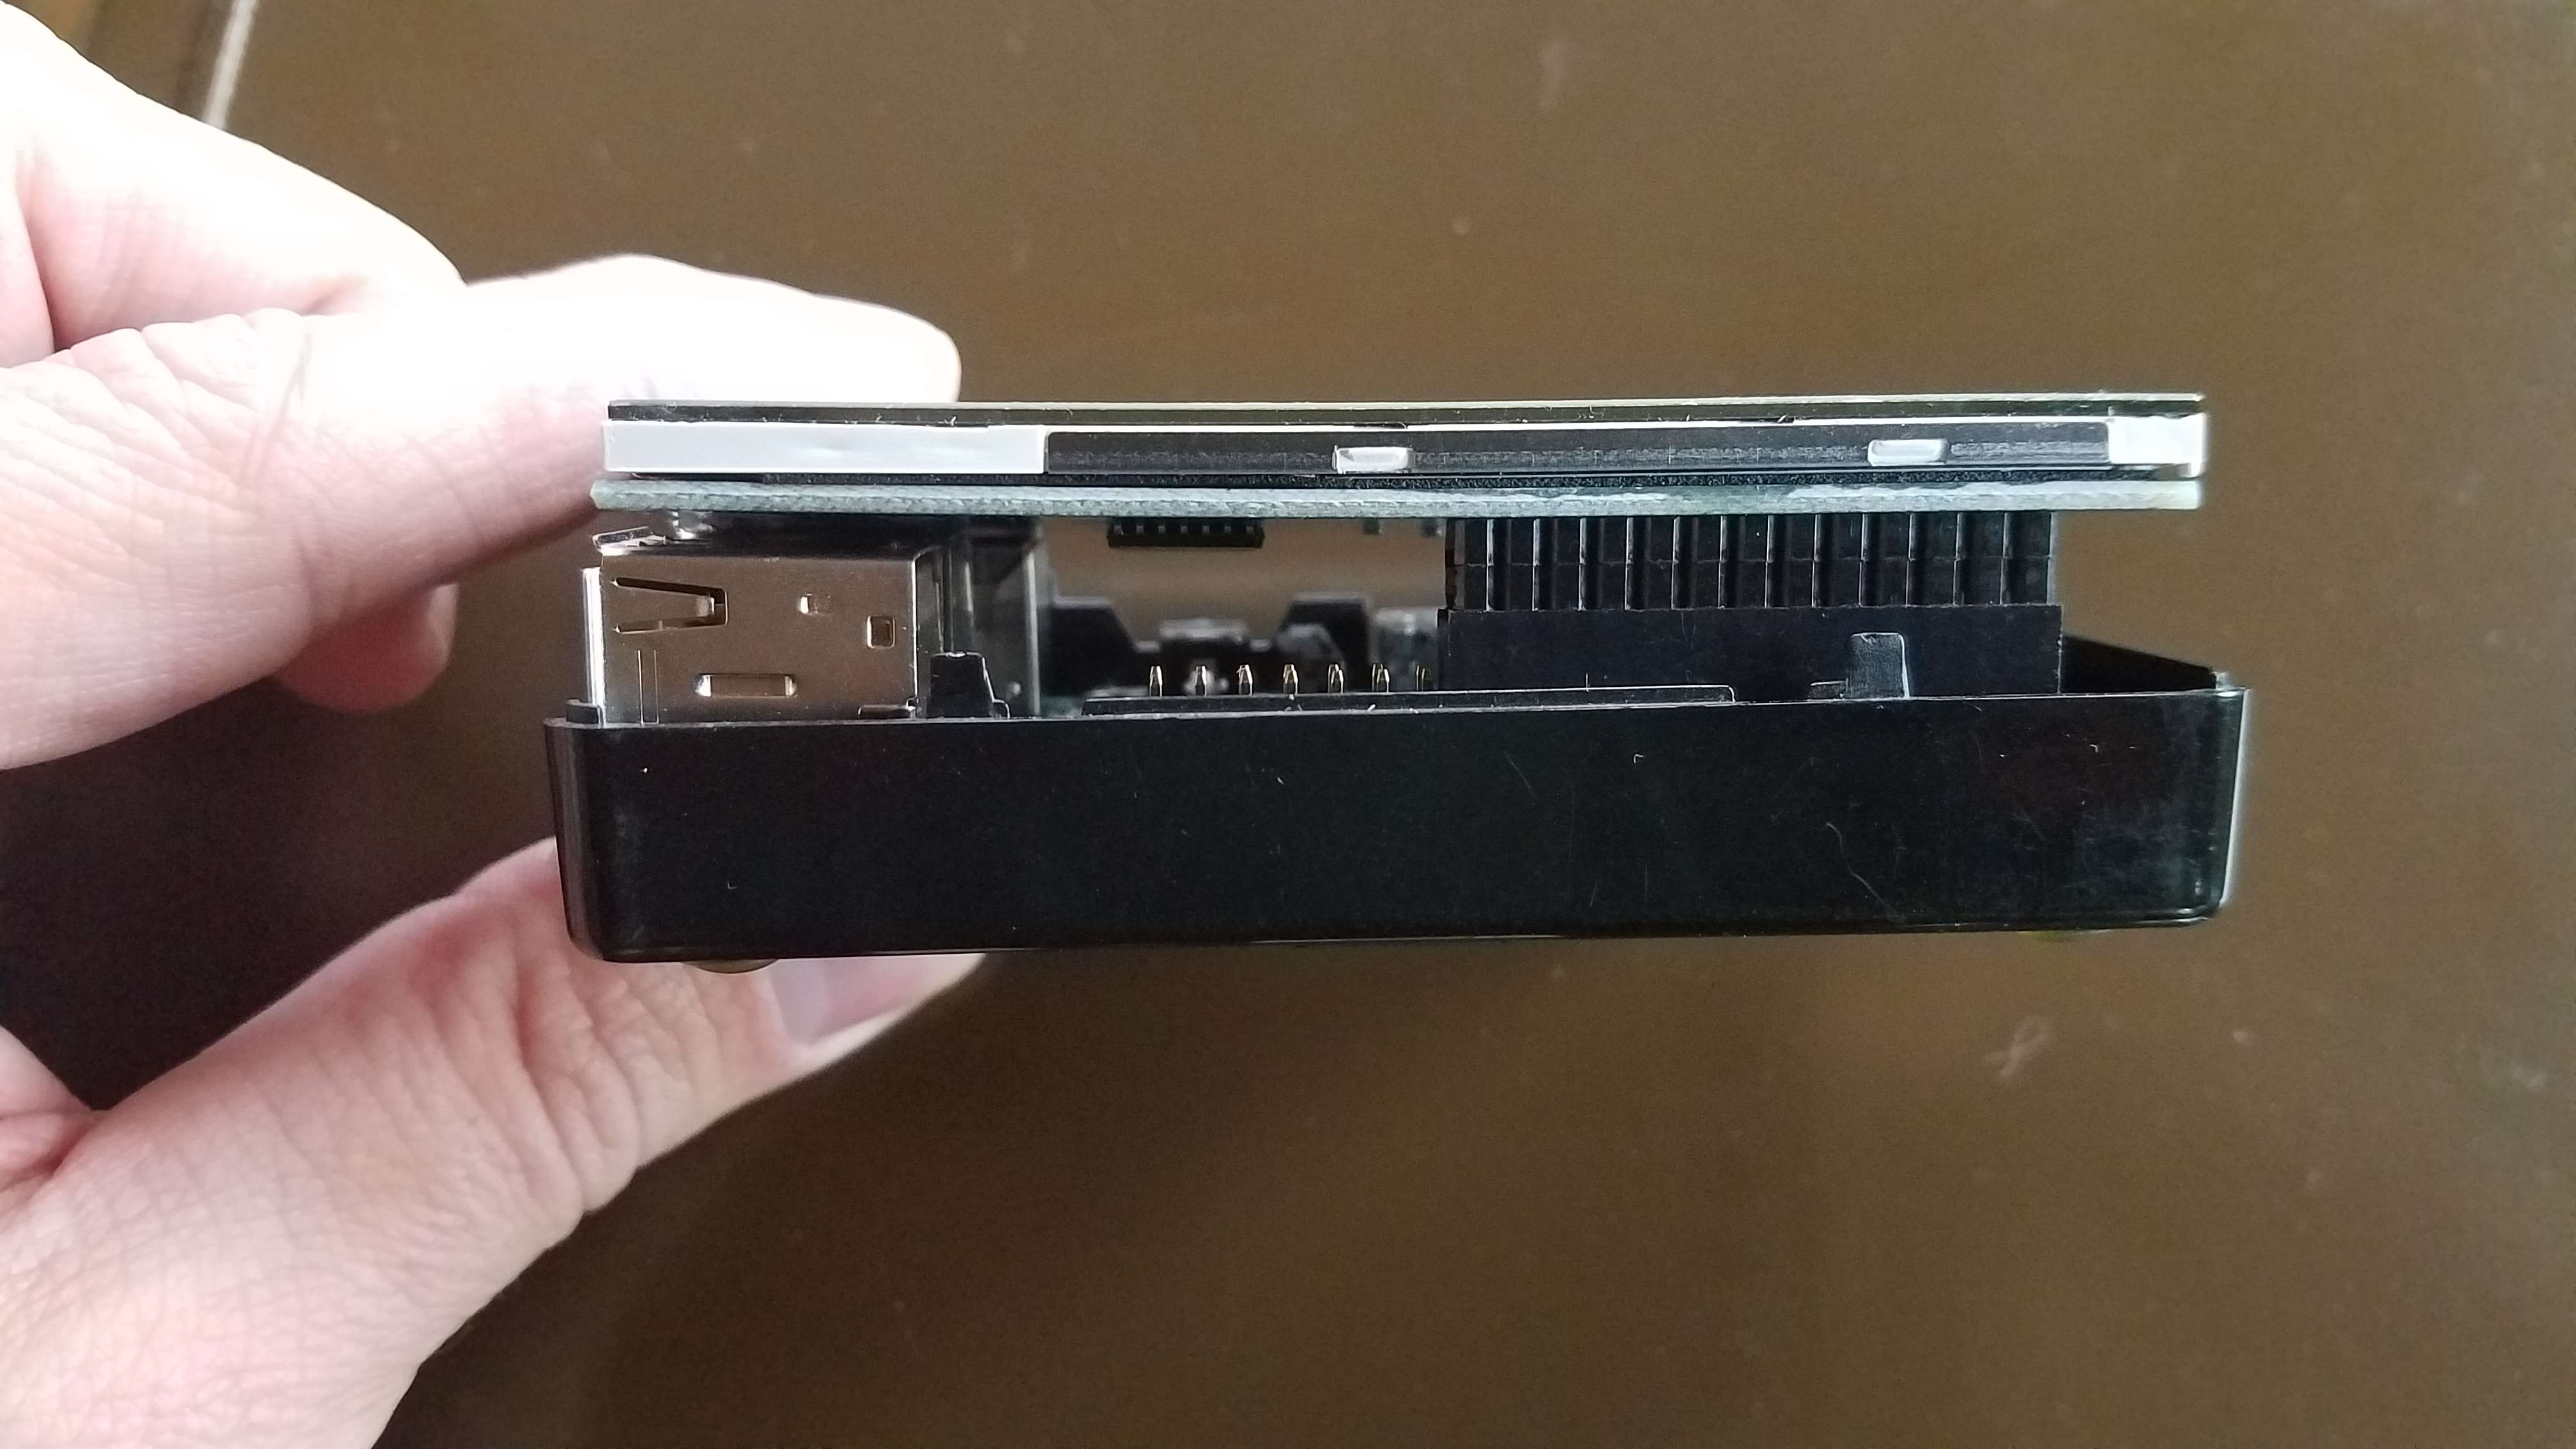
I ordered my screen directly from China from AliExpress. I ordered this exact board. I took about 4 weeks to arrive. Even though there wasn’t much packaging material, the board was fine. It came with a little stylus but no instructions are included. The screen has a nice connector that is exactly the right height. When attaching, make sure the pins are aligned correctly. I went back through the reviews and saw some different suggestions for getting the screen to work. I finally landed on the right combination of settings.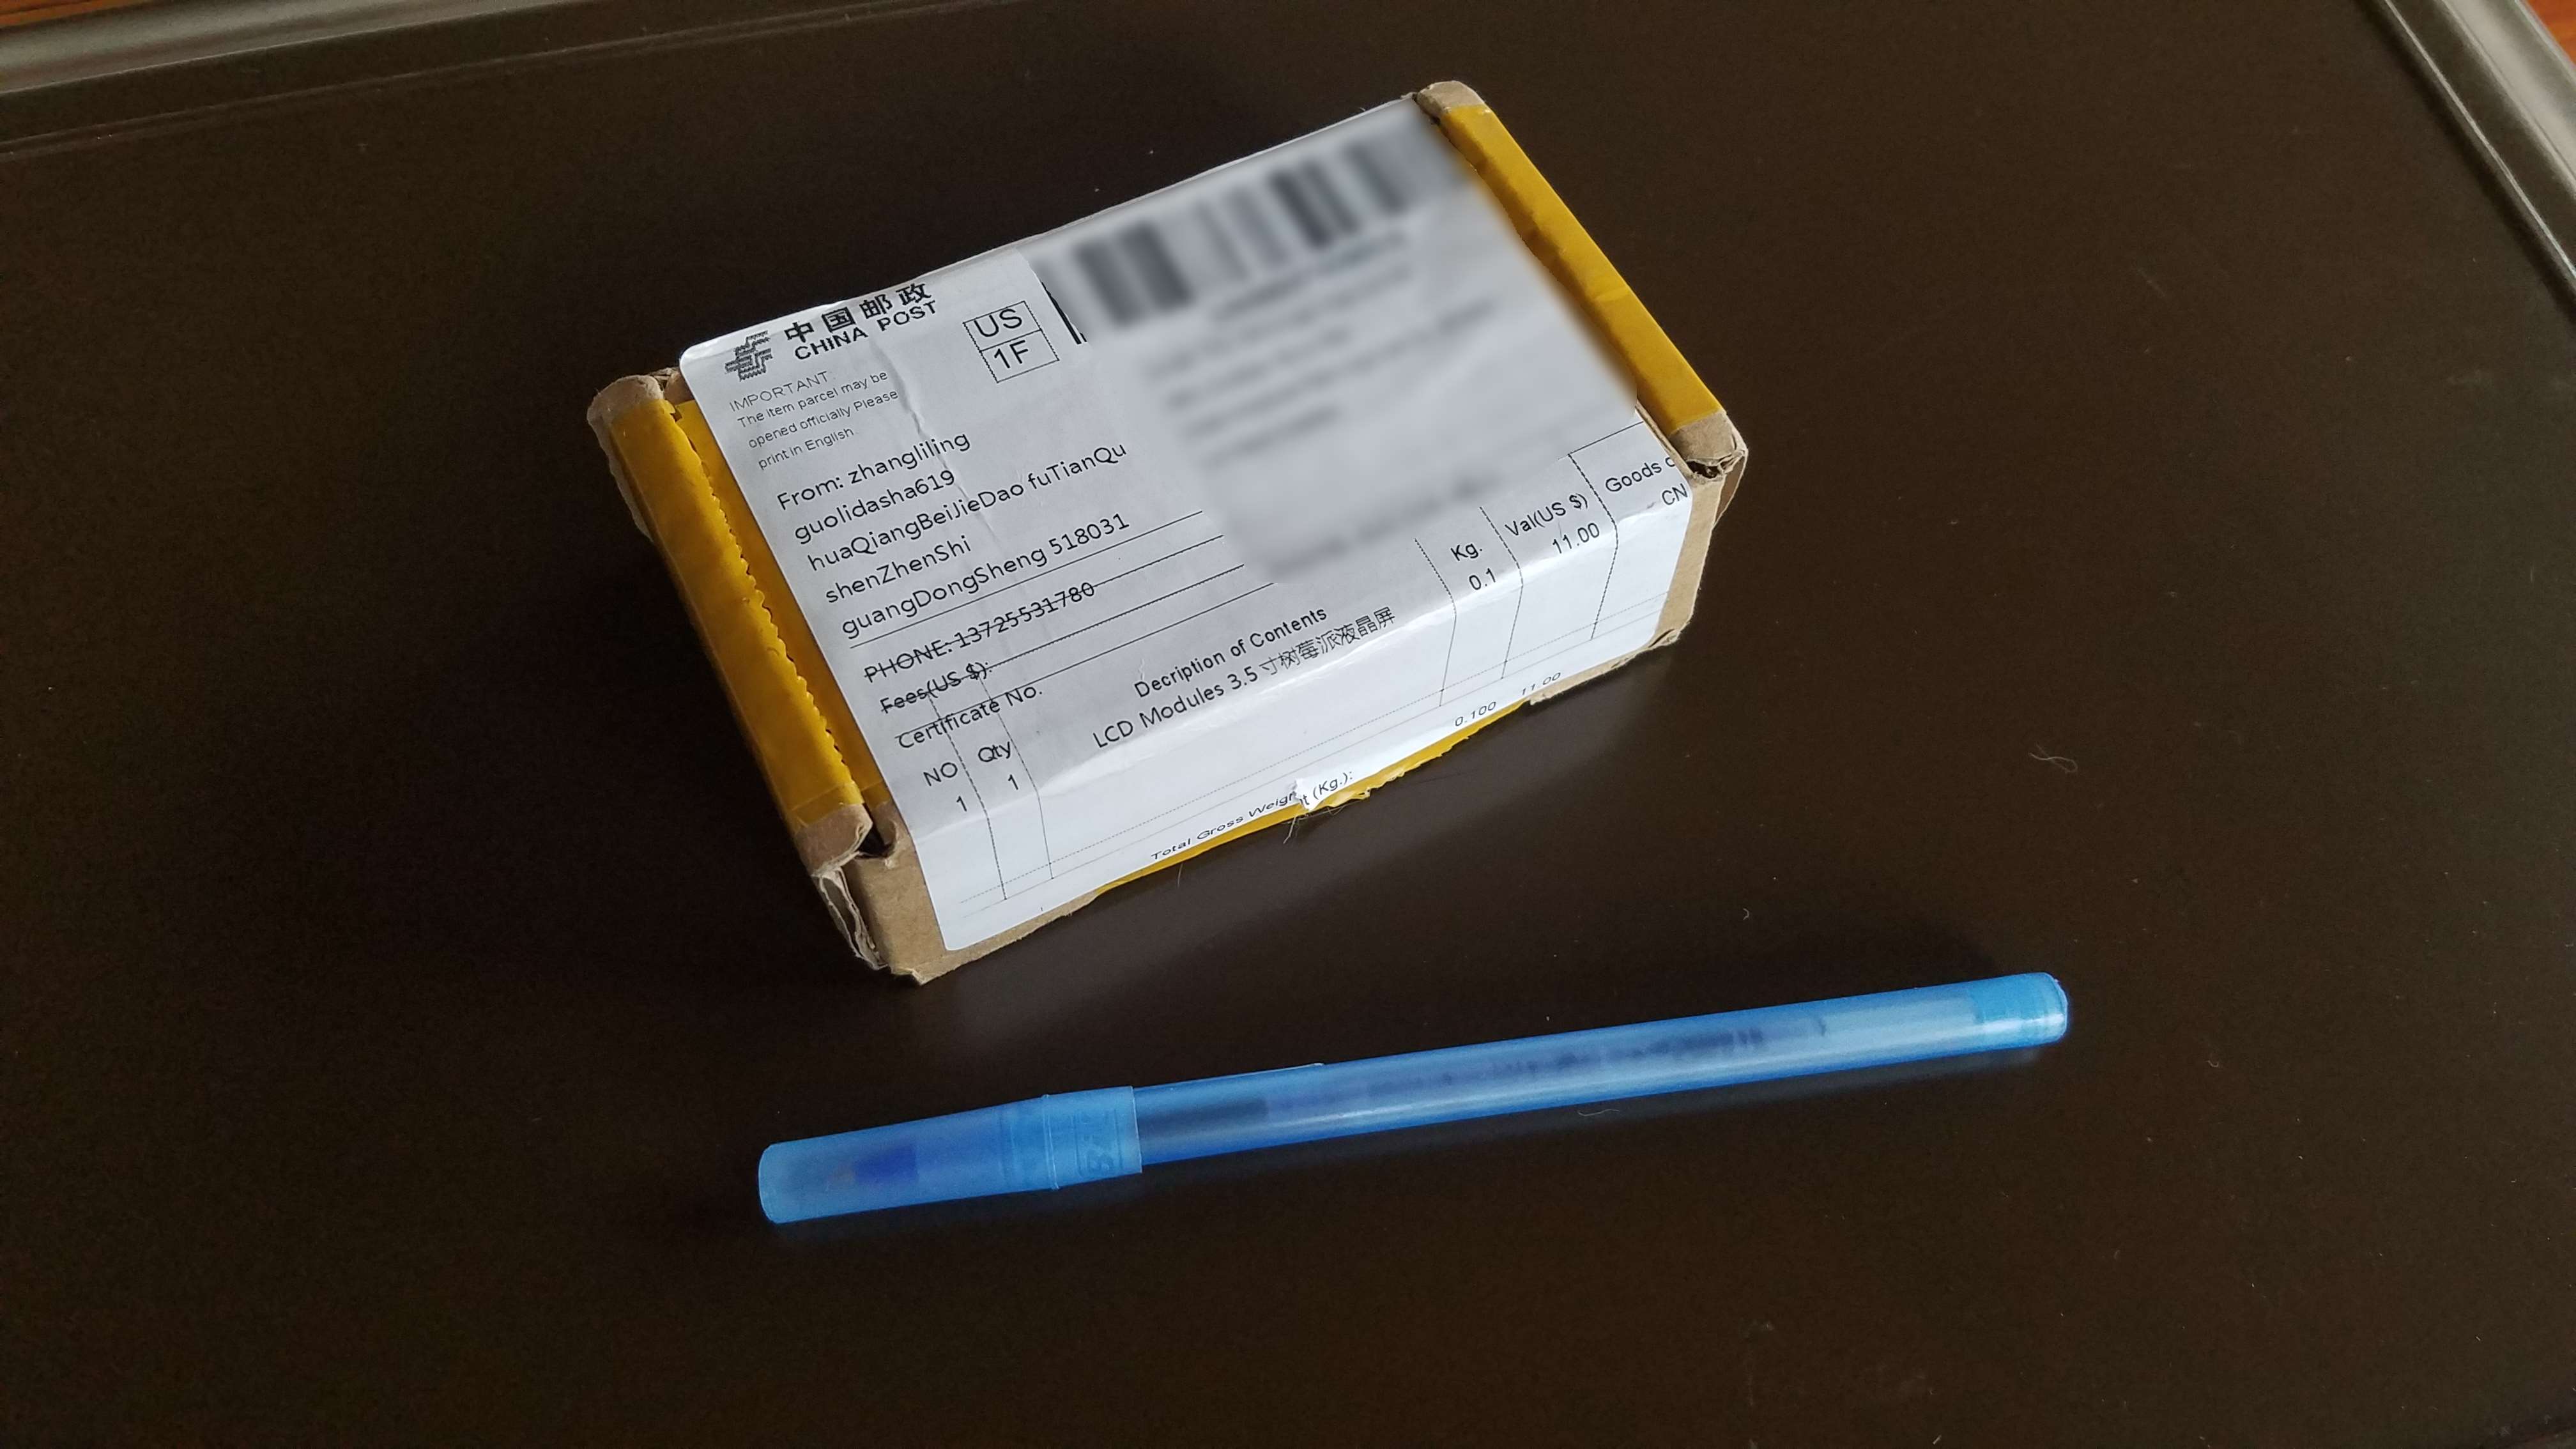
Displaying the console
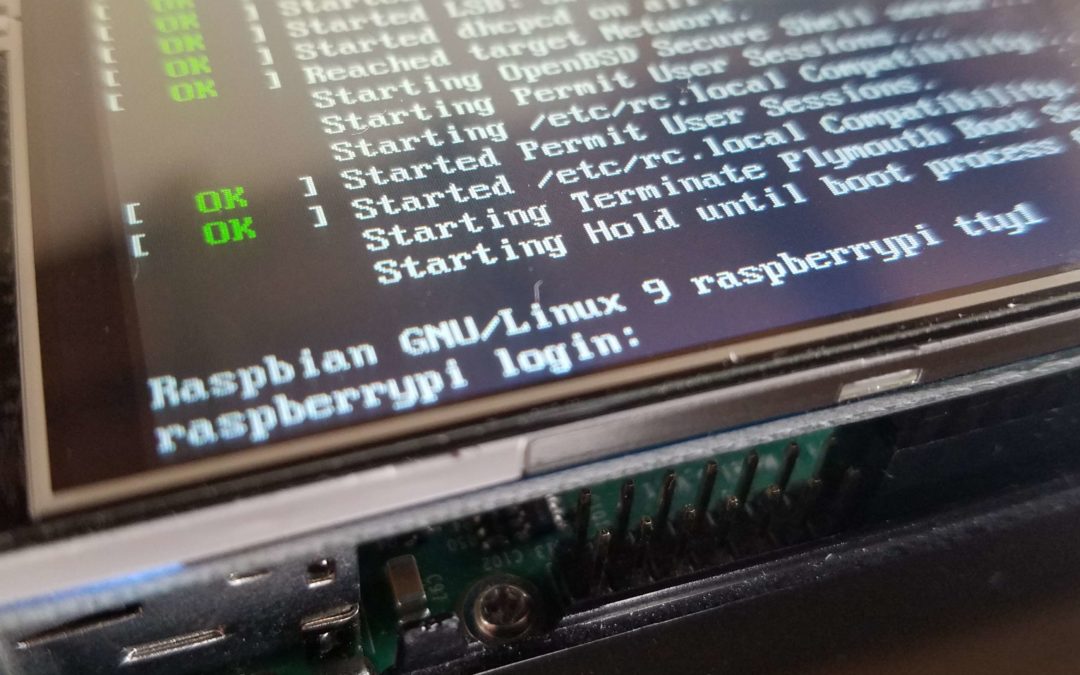
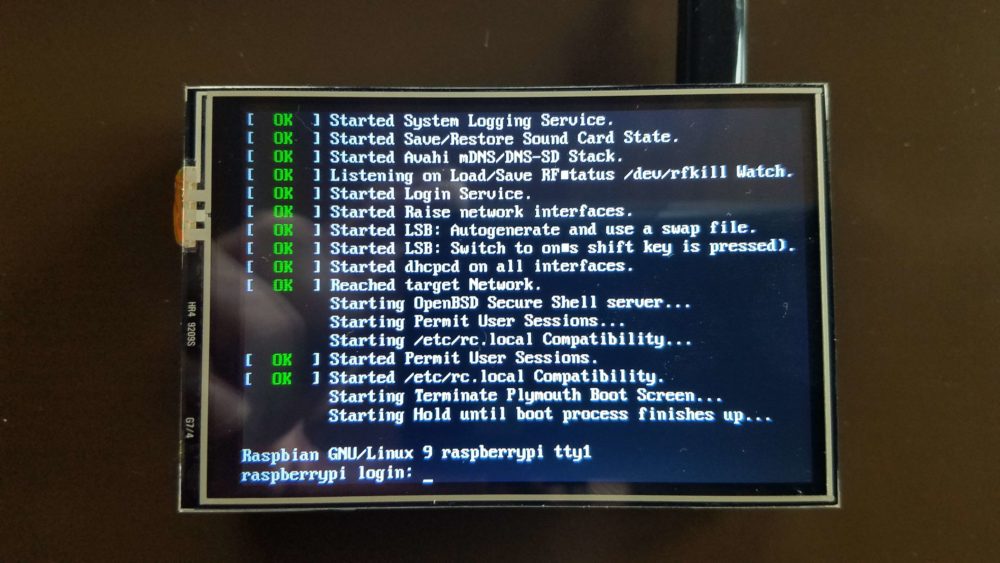 First the good news – Raspian Jessie and Stretch include the needed drivers to make the screen and touch panel work! There is no need download or activate special modules or overlays. You just need the right configuration settings. My first goal was to get the screen to show anything. To do that I modified the
 /boot/cmdline.txt and /boot/config.txt files. These changes should make the boot console display. Add fbcon=map:10 to the END of the cmdline.txt line. Add dtoverlay=piscreen,speed=22000000,rotate=270 to the end of the config.txt file. Note the rotate portion of config.txt. This allows changing the position of top of the screen. On my workbench the power connector is on the top and the rotate=270 positions the top of the screen similarly. After you edit the files, reboot. The boot process will be displayed on the little screen.
Displaying Xwindows
OK step one is done – the screen works for the console. Next step is to get it working with X11 and my default window manager, Xfce. To do that only one simple edit was required. In /usr/share/X11/xorg.conf.d/99-fbdev.conf (Stretch) or /usr/share/X11/xorg.conf.d/99-fbturbo.conf (Jessie) there should be a line similiar to Option "fbdev" "/dev/fb1". That tells Xwindows to use the default Raspi HDMI screen. The touchscreen should be fb1 so just change /dev/fb0 to /dev/fb1. My basic Jessie install has a fbturbo.conf file but Stretch did not have any files. I created a new 99-fbdev.conf file and added all these lines.
Section "Device"

  Identifier "myfb"

  Driver "fbdev"

  Option "fbdev" "/dev/fb1"

EndSection
Reboot and start Xwindows. All should work. Note: this will disable the HDMI display. If you need both displays at the same time, it is beyond the scope of this blog post but Google has the answer.
Getting the touchscreen working
The last step is getting the touch panel to work correctly. This was the most complicated part. Since I rotated the screen, the touch panel no longer moved the mouse pointer correctly and it was wasn’t calibrated correctly. I turned to Google and found posts like this http://lallafa.de/blog/2015/03/fbtft-setup-on-modern-raspbian/ that seemed to have the answer. But, the steps listed in that post no longer work. See this discussion https://github.com/notro/fbtft/issues/445. I had to use the xtcal tool to generate the calibration the screen. Running xtcal will give an xinput comment that can correctly calibrate the touchscreen. Since xtcal is not part of the standard distribution you need to build it from scratch. First you’ll need the build tools and some header files. These are small will not clutter your system so the impact is low. Install the required programs with:
sudo apt-get install git make gcc libtool libxxf86vm-dev libxaw7-dev libxft-dev
Then use git to clone the source files and build the program.
git clone https://github.com/KurtJacobson/xtcal

cd xtcal

make
Next you’ll need to run the xtcal program. It did not produce good results running when I had xfce running so I modified my Xwindows start to run xtcal and exit. I created/edited the .xinitrc file in my home directory to have one line:
~/xtcal/xtcal -geometry 480x320
A quick note, xtcal normally starts in fullscreen mode but it gave an error on my Raspi. The -geometry directive tells xtcal how big the screen is. If you already have a .xinitrc make a backup! Then I started Xwindows with startx&. After you touch the four cross points (use a stylus for the best accuracy) Xwindows should exit and the output should look like:
xinput set-prop <device name> 'Coordinate Transformation Matrix' 1.102913 -0.013744 -0.064990 0.010184 -1.086781 1.019361 0 0 1
I ran the xtcal three times and averaged the numbers. The <device name> needs to be replaced wit the name of the touchscreen. Get the touchscreen device name by running xinput (use apt-get to install xinput if you don’t already have it) after you start Xwindows. Here is the output on my Raspi.
⎡ Virtual core pointer id=2 [master pointer (3)]

⎜ ↳ Virtual core XTEST pointer id=4 [slave pointer (2)]

⎜ ↳ ADS7846 Touchscreen id=6 [slave pointer (2)]

⎣ Virtual core keyboard id=3 [master keyboard (2)]

↳ Virtual core XTEST keyboard id=5 [slave keyboard (3)]
You can see the name of the touchscreen is “ADS7846 Touchscreen”. To apply the calibration every time you start X add a line to the .xinitrc in your home directory. Note, the .xinitrc starts the Xwindows system and support programs. If you didn’t have that file, you should call the system default at the end of your custom file. See man startx for more information. This is what my .xinitrc looks like. It calibrates the touch screen and them calls the system default startup.
xinput set-prop "ADS7846 Touchscreen" "Coordinate Transformation Matrix" 1.097635 -0.011817 -0.054560 -0.002269 -1.089636 1.031436 0 0 1

. /etc/X11/Xsession
That’s it. Restart Xwindows and test. The pointer should now be well aligned to the touch screen.


