by Michael Kercsmar | Feb 25, 2014 | Software
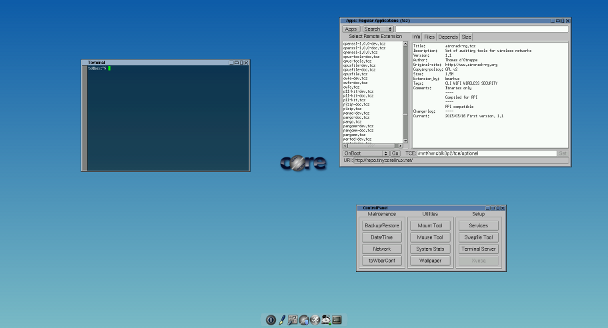
For advanced users – If you need a minimal distribution that includes a GUI and run entirely out of RAM, TinyCore might be right for you. It includes only a minimal set of tools that you can use to build up a complete system with only what you need. The complete announcement can be found here http://forum.tinycorelinux.net/index.php/topic,16551.msg98689.html and a review is here http://www.linuxuser.co.uk/reviews/picore-5-1-review-tinycore-comes-to-raspberry-pi. I will say that I do not entirely agree with the review and I give TinyCore higher marks than the reviewer.
UPDATE TinyCore v6.0 is now available here
by Michael Kercsmar | Feb 22, 2014 | News
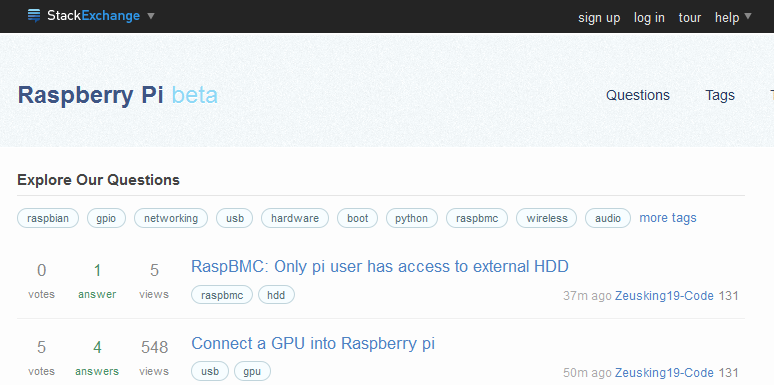
Stack Exchange, the incredibility popular question and answer site now has a board dedicated to the Raspberry Pi. Check it out http://raspberrypi.stackexchange.com/. On this site (and every Stack Exchange site) users post questions and answers. The best answer get voted to the top. There is a sophisticated reputation system to keep spam and worthless exchange to a minimum. So the site always has high quality and fresh information.

by Michael Kercsmar | Feb 21, 2014 | Software
In my last post about QEMU I showed how easy it was to emulate the Raspberry Pi in Windows. If you are just getting started with the Pi, that is the way to go. Personally, I prefer to use Arch Linux over Debian. There is nothing wrong with Raspbian, I am just used to how Arch Linux works. But, emulating Arch Linux under QEMU is not that simple. To start, not everything can be found in one easy download package. But, I worked through the problems and here are the instructions:
- To start,you will need a working QEMU working Rasbian to modify the Arch Linux img file. Follow the instructions in this post to get Raspbian running.
- Next, download QEMU 1.6 from QEMU FOR WINDOWS (52MB). Extract in a different location from the Rasbian install.
- Download the latest Linux kernel for QEMU from http://xecdesign.com/downloads/linux-qemu/kernel-qemu NOTE: http://xecdesign.com/qemu-emulating-raspberry-pi-the-easy-way/ has some great information about QEMU and the Raspberry Pi
- Download the latest Arch image from http://archlinuxarm.org/platforms/armv6/raspberry-pi
- Before we boot the Arch image we are going to make a few changes to the img file. One, it needs to be bigger and have a swap partition and two, the way the Arch image specifies the boot partition does not work with QEMU. We need to modify the /etc/fstab to make it work.
- Add 2 GB of space to the fake SD card with the following command (in Windows)
qemu-img <Arch img filename> resize +2G
- Next, we will add the Arch img as a second drive in Rasbian. Add the following to the BAT file that starts the Rasbian QEMU session
-hdb ArchLinuxARM-20##.##-rpi.img
Add the correct date code for you file. That addition puts the Arch img on /dev/sdb when you start Rasbian.
- Start Rasbian. Watch the messages to see that the sdb partitions are now available. Don’t worry if the message go by too quickly, the next step can also check.
- Now create the swap partition. Login and use
sudo fdisk /dev/sdb and create a linux swap partition. Detailed instructions are here. The next step shows how to edit the fstab to make the swap used at boot.
- Next, we will mount the Arch partition and edit the fstab. Do the following:
sudo mkdir /mnt/arch

sudo mount /dev/sdb5 /mnt/arch

sudo nano /mnt/arch/etc/fstab
- In fstab, change the /boot line from /dev/mmcblk0 to /dev/sda1
- Add the following as the list line to activate swap on boot
/dev/sda3 none swap defaults 0 0
- Save fstab, exit nano and umount /mnt/arch.
- Halt Rasbian and move the Arch img file to the QEMU 1.6 install directory
- Arch can be started with the following command
qemu-system-armw.exe -kernel kernel-qemu -cpu arm1176 -m 256 -M versatilepb -no-reboot -serial stdio -append "root=/dev/sda5 panic=1 rootfstype=ext4 rw" -hda ArchLinuxARM-2014.02-rpi.img
- All should start and you can log in with username root and password root
- Check your swap with
free -m
You’re done. You new have a QEMU system emulating Arch Linux. Update Arc with pacman to get all of the latest goodness.
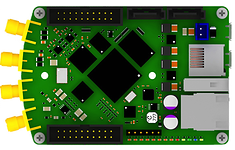
by Michael Kercsmar | Feb 13, 2014 | Hardware
I saw this and had to share. It is a full workbench of scopes and generators on a single board running Linux. Fast Analog in, fast Analog out, gpio, ADC (in addition to the fast analog in) and more.
Check it out here.
by Michael Kercsmar | Feb 13, 2014 | Software
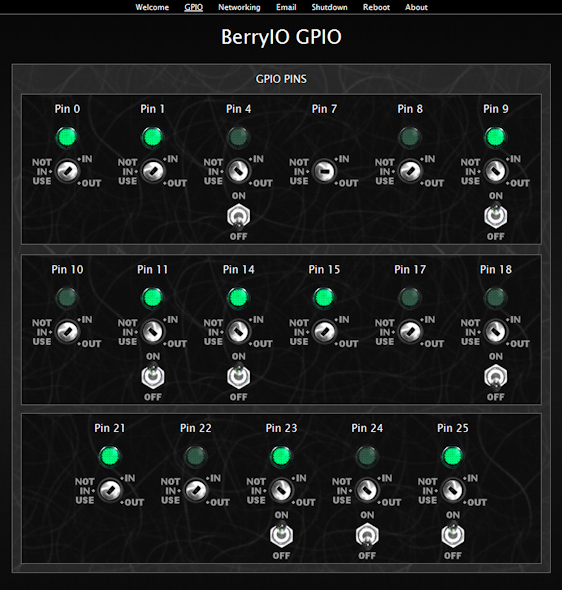
One of the most interesting aspects of the Rasberry Pi is the general purpose input/output port (GPIO) that makes interfacing easy. Generally speaking, there are 17 pins that are available for use on the pin header. These pins can be input or outputs and are very easy to control and read from both the command line or program. But, what if you need some quick and dirty to test the new hardware you are developing. You don’t want write a script or program just to check on your new hardware’s IO. Well, that is where BerryIO can help. BerryIO is a program that lets you remotely control and monitor the GPIO ports via a web page. You can select the input/output state of each pin and the output level. For the inputs, you can monitor the level of each pin – all through a web browser. BerryIO also gives you control over an LCD if you have one connected, there are some simple system tools, SPI system and camera controls.
A video demo can be found here.
BerryIO can be downloaded from GitHub


